WolfCMD
Are you still measuring-
or are you already producing?!
TAKING MEASURING TO A NEW DIMENSION!
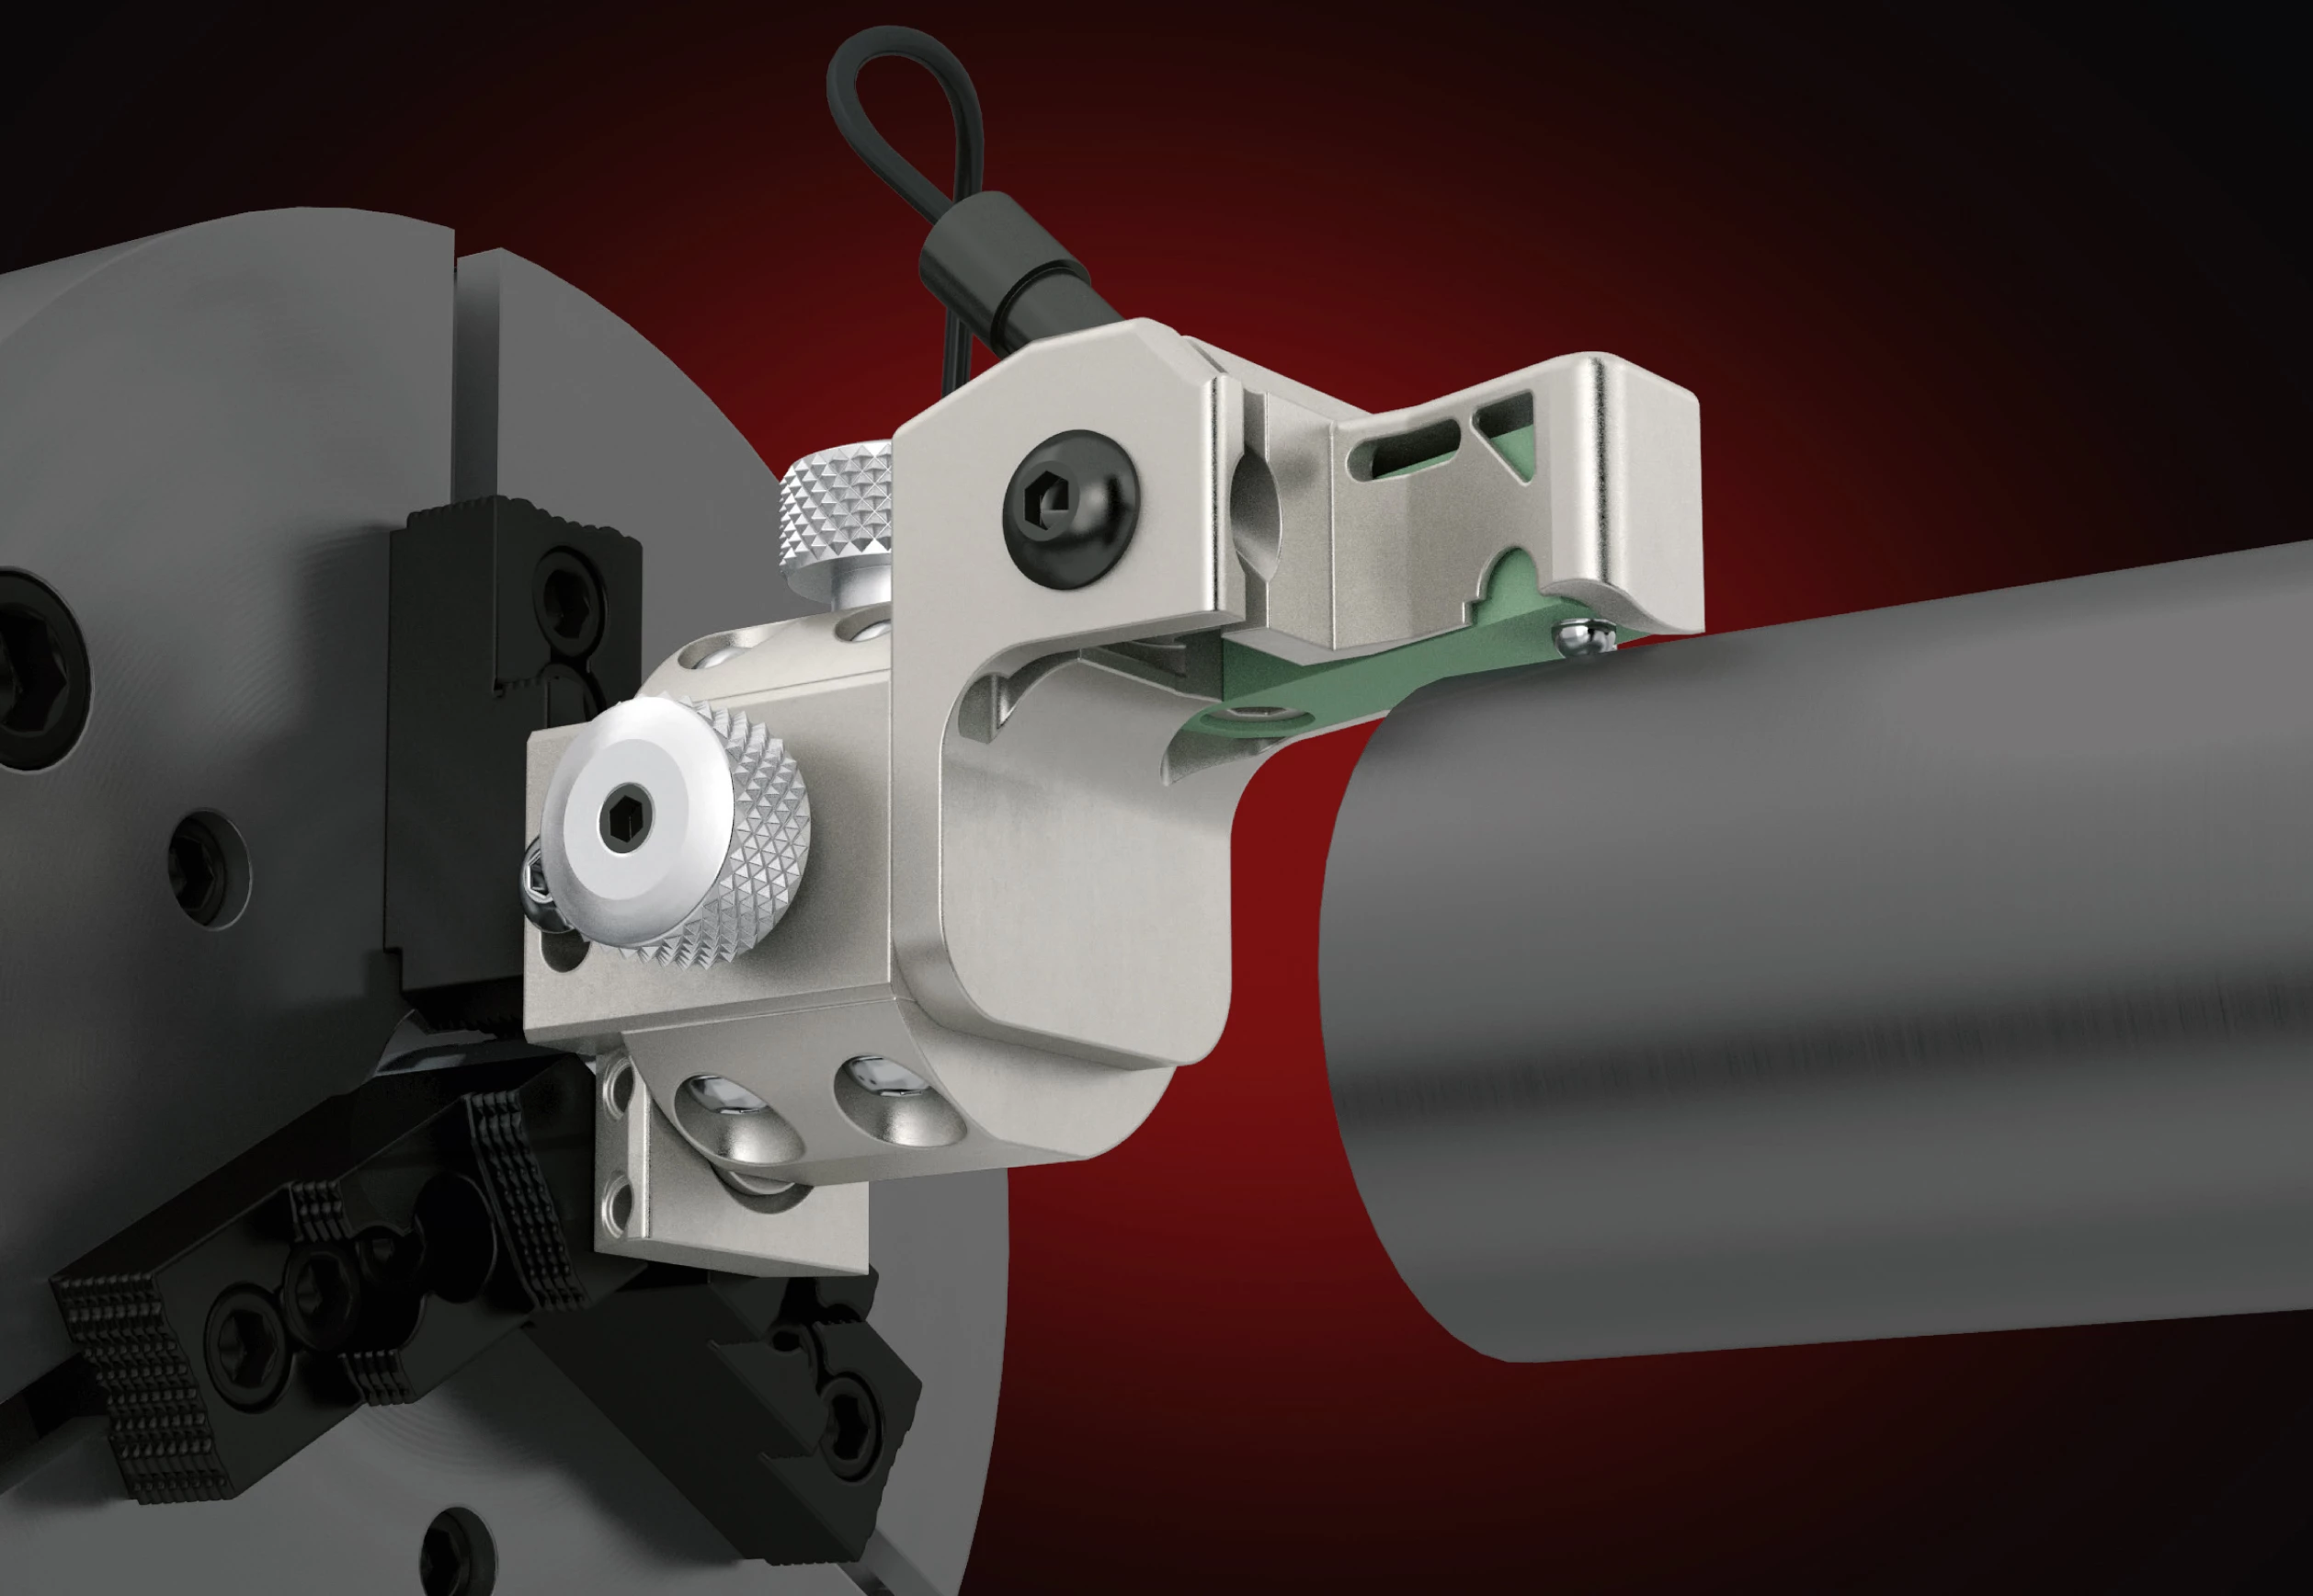
Wolf Maschinenbau AG originally developed the WolfCMD for its own use for fast, high-precision alignment of axes in our rotary and linear transfer machines. In doing so, we have focused on maximum ease of use and maximum flexibility in the possible applications.
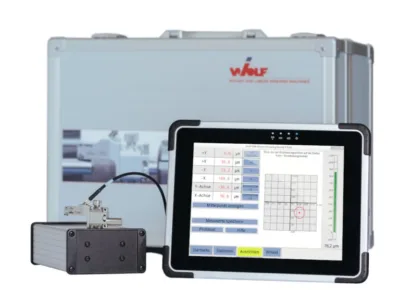
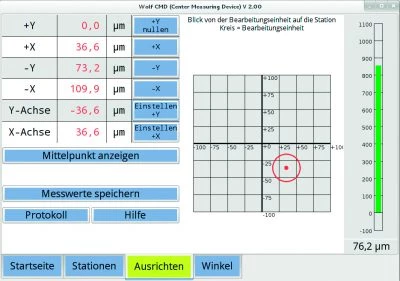
For example, up to 20 measuring positions can be compared with each other, making it possible to detect errors and align the machining units using WolfCMD. All applications are digitally processed and displayed in real time on the touch screen. The software specially developed for the WolfCMD is characterised by its ease of use. The WolfCMD is universally adaptable and can be profitably used, for example, in the production of precision parts for mechanical and plant engineering, aerospace engineering or medical technology. We are happy to realise individual special applications on request.

PRECISE:
Sensor measuring range 1 mm.
Resolution < 0,1 μm.
Measuring ranges:
Outside: standard 0,5 – 38 mm, special available.
Inside: ≥ 25 mm
COMPACT:
Newly developed sensor holder enables measurements to be taken in the smallest of spaces
SIMPLE:
Readings are digitally recorded and graphically represented to enable automatic analysis
QUICK:
- Set-up times are up to 80% shorter than for conventional measuring devices
- No parallax errors
- Ideal for use in workshops
- Improved process reliability through logical measurement system
- Storing of data for documentation and comparative measurement purposes
- Universally adaptable for different clamping interfaces
- Compensation of lateral forces
- Special applications on request:
cable length up to 10m, larger part diameters etc.
The WolfCMD digital centering device for fast alignment of axes.
We have already convinced customers around the world of our digital centering measuring device, the WolfCMD.
Dare to take the step into the modern age: Put the dial gauge aside and start with the WolfCMD for fast, high-precision and process-reliable alignment of axes – according to the motto “Are you still measuring or are you already producing?”

PRODUCT INFORMATION
WolfCMD
Upon request, we will also be happy to send you documents by mail.
The WolfCMD. Optimum interaxis alignment.
| Sensor measuring range | 1 mm |
| Resolution | < 0,1 μm |
| Accuracy (% of the measured value) | 0,05 |
| Outside measurement range | 0,5-38 mm |
| Inside measurement range | ≥ 25 mm |
| Protection rating | IP60 |
| Standard cable length | 3 m |
WolfCMD in action:
The WolfCMD. Optimum interaxis alignment.
- Measuring:
Several measuring points can be brought in relation to each other with high-precision measuring. The results are the recording of the values and the graphic display. - Align:
The aim of alignment is to detect deviations between two axes in order to align them exactly to each other. - Angle measurement:
To detect an angle error, two measuring points are measured at a certain distance from each other.
